Listen first for some VERY important rules about your first aid kit.

IFAK (Individual First Aid Kit) Inventory

The list above is a basic inventory. Please forgive the few misspellings. This original list came from a friend quite a few years back. It has a bit of sentimental value to me, as he was a mentor to me in these subjects..
I didn't have the heart to rewrite it, but let's do something fun with it. All you Grammar Police out there (I'm raising my hand!)...it's time to rise up. E-mail me back with a list of errors you find in the chart above, and I might just send you something.
Have no fear about the list either. I'll be sending you a complete brand spankin' new list at the end of the course.
Very few of these items need an upgrade. After all, they're disposable and meant for basic function over quality. Most of the above supplies I buy at my local Dollar Tree for a dollar a pack or single, whatever the case may be. For the items not available at Dollar Tree, you can buy them just about anywhere.
The tourniquet might be the only item you have to search out. There are a lot of rapid tourniquet systems out there, but I prefer the CAT tourniquet for its simplicity and my experience using it.
If you would rather buy a prepackaged first aid kit instead of assembling your own, there are a lot of them out there. I'm partial to North American Rescue because they're local to me. Their factory is only a few miles away in upstate South Carolina.
Here's a link to a great IFAK from North American.
The only downside to buying a prepackaged kit is that there will be some stuff in there you don't really need, a few items you need to add, and it's more expensive.

What about a bag for your IFAK?
Although most of your Get Home Bag items are thrown into various pockets of your backpack, I don't want you throwing your IFAK items loose in there. You need to be able to yank out your pouch and put it to use or someone else needs to be able to find it easily and use it on you.
Let's look at the IFAK pouch from a Good-Better-Best point-of-view.
GOOD- By good, I mean to say "barely functional" and cheap. Toss it all into a Ziploc bag.
BETTER- A waterproof bag like the ones I mentioned before or some kind of a zippered bag you can find around the house.
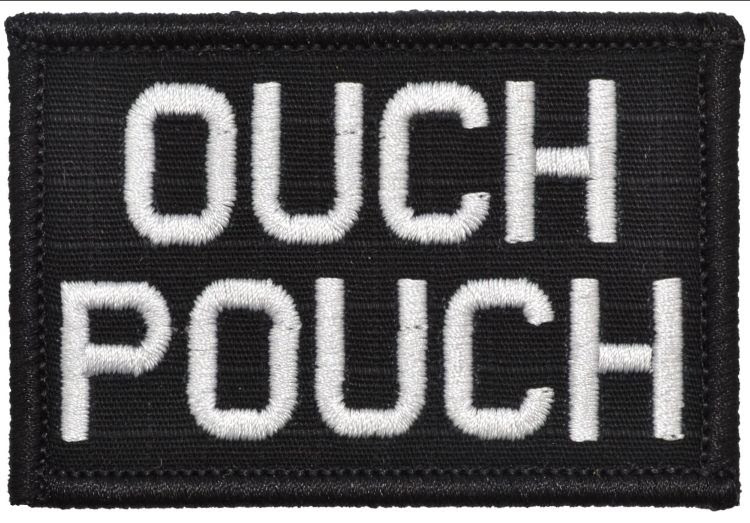
BEST- A dedicated and brightly colored or marked pouch found easily in your bag. Personally, I recommend a bag that is bright red or has a section of Velcro on it for a medical patch. Another good touch for the BEST kind of bag is an integrated strap that will allow you to wear it on your person or sling it over a shoulder. This way it's more easily accessible once you deploy it.
My Get Home Bag is part of a system. It has quite a few pouches that Velcro into its main compartment, and one of these is bright red. You can guess which one. Yup. My Ouch Pouch. It also has a strap at the back with a carabiner in it so I can strap it anywhere on my body, belt, or my pack.
The pic below is another example of an IFAK pouch available from Orca Tactical on Amazon. It's just an example. You can find a ton of other pouches similar to it that work.


What about First Aid Training?
I'm going to assume most of you easily fall into one of the following categories:
NO WAY. THE SIGHT OF BLOOD MAKES ME SICK.
You've never had any medical training whatsoever, and the most treatment you've ever given has been a stray band-aid here and there. Just the thought of blood and broken bones makes you queasy.
I SAW IT ON TV ONCE.
You've had first aid training at some point in your life, but never used that training in a serious emergency, let alone on yourself. Maybe it was required for a job, but you prayed someone else would do it if needed.
BRING IT ON!
You have multiple kids and tons of experience with everything from band-aids to serious trauma but no training. Unless it's spurting or no longer attached, it's not a big deal.
TRAUMA IS FUN, UNLESS IT'S MINE.
You have training and experience because you work or worked a medical job like an EMT, fireman, or something more highly trained. The opportunity to see trauma or jab people with needles gets you excited.
Unless you fall into the last category, you would benefit from some kind of training, even if it's just to refresh your skills and give you some practice every now and then.
There are lots of places to find both in person and online training. If you're interested in talking about this more, drop me an e-mail, and I'll help you get set up and choose and appropriate class.
By the time you finish this course, online first aid and CPR training will be available from me. I'm putting the finishing touches on the classes as you read this. Please get in touch if you want me to add you to the waiting list for the first classes.

GRAPHIC IMAGES BELOW
I wanted to warn you just in case this stuff makes you squeamish. If it does, my big ask is that you at least read on, look at the pics, and catch the educational value. You don't have to dwell on the pics, but if you truly want to be prepped to handle basic common emergencies, you can't always shy away from uncomfortable things.
I wanted to present a sample Case Study to give you an idea of a relatively simple, but unexpected emergency that was managed well, but could have easily resulted in a fatality.
CASE STUDY: Injured adult male due to a climbing accident in an industrial environment.
The first incident involved a virile young man who hit his head on a piece of steel.
It was actually me. I just wanted to set this story up a little more official. I hit my head while climbing on an old abandoned train car.
Myself, my wife, and my teen son were several miles back on an old abandoned railroad. We found several train cars that were left on the tracks and decided to check them out.
Full disclosure here- I wasn't doing anything heroic or tremendously awesome when this happened. I was actually trying to back my way out of a spider web when I bashed my brain bucket on a steel ladder.
Stupid spiders!
After I hit my head, I fell to the ground, immediately felt my head, and saw blood. By the time my wife and son got to me, it was gushing pretty good. We used our EDC first aid kit, which was quickly overwhelmed. My wife literally took the shirt off her back, and it was enough to stop the blood flow.
Thankfully, no one tried to place a tourniquet on my neck. My wife might've been tempted (for training purposes only).
We sent my son ahead for help while my wife and I began hiking through the brush, over water-filled ditches, and around a big dog toward the nearest road.
The end result: After a decent hike back, and a quick ambulance ride, I ended up with 17 stitches. The superficial temporal artery on the left side of my head had been split. The ER doc was pretty cool and gave my son an amazing homeschool lesson on cranial anatomy while she stitched me up.


The following is actually an excerpt from an official Case Study of this incident that I wrote up for a medical journal. If you'd like to read the article in it's entirety, click HERE.
Lessons Learned:
- Wear a helmet. There are times in life where you should take extra precautions. I should obviously wear a helmet around big metal things. You decide when you need some extra margin in your life.
- Pay attention to signs. Pay attention, but do not necessarily obey them. I cannot tell you how many DANGER and NO TRESPASSING signs we passed that day. They did not stop me, but I should pay more attention next time and be better prepared. When people throw you caution flags in life, take note and then go from there.
- Make every opportunity a chance to learn something new. At the ER, while she was sewing up my head, the doc brought my son over and showed him all the layers inside my brainbox. He enjoyed it, as he’d never seen the anatomy of the skull other than in scientific illustrations.
- Dress appropriately. I always wear dark colors, usually black, because I get into so many activities that either leave me filthy or bloody. Dress the right way for what you’re doing.
- Look for the humor. After she saw the pics of my open head, my sister asked if it was too early for Phineas Gage jokes. Always look for humor in any situation.
- Go minimalist. So little is actually needed in trauma events. Outside of more definitive care in the ER, all we needed to hike out was a bandage and pressure. Do not complicate things with stuff. It does not always help and sometimes hurts.
- Train your team right. My wife is a former paramedic. My 14yo son has multiple certifications in wilderness first aid and CPR. He’s also in good shape and pretty fearless. He never freaked out a bit.
- Be ready to hike out. Had I not been able to hike out on my own, I would’ve been in serious trouble. Always have a plan B and enough margin to get out and get safe.
- Problems makes the most simple things difficult. I have to be really careful about scratching my head, showering, and putting a shirt on, at least until the stitches are out. I have only one hat I can wear that doesn’t touch the stitches. Plan ahead for problems before they occur.
- Take care of yourself. At the hospital we talked the doc into giving us a suture removal kit. It makes pulling the stitches out way better than using the tweezers you pick your toes with and a pair of scissors out of the drawer. My wife will do it, and all the kids will probably enjoy watching. Do not always depend on outside resources to help you. Have the gear, team, and training to do it yourself.
A BONUS IS COMING!
Stay tuned beyond the entire class for BONUSES.
In regard to this lesson, I'm working on a video on how to use your HSA, or Health Savings Account, to buy all your first aid supplies with pre-tax dollars.
What to expect for tomorrow...
We're going to talk about food, water, and why you don't need to carry much of it.


